Hello everyone and welcome to the second of a series of overviews on sculpting rocks. In the previous post I outlined one particular methodology on how to create a texture mapped low-poly asset with normal maps applied which had been generated from a higher poly version of that form.
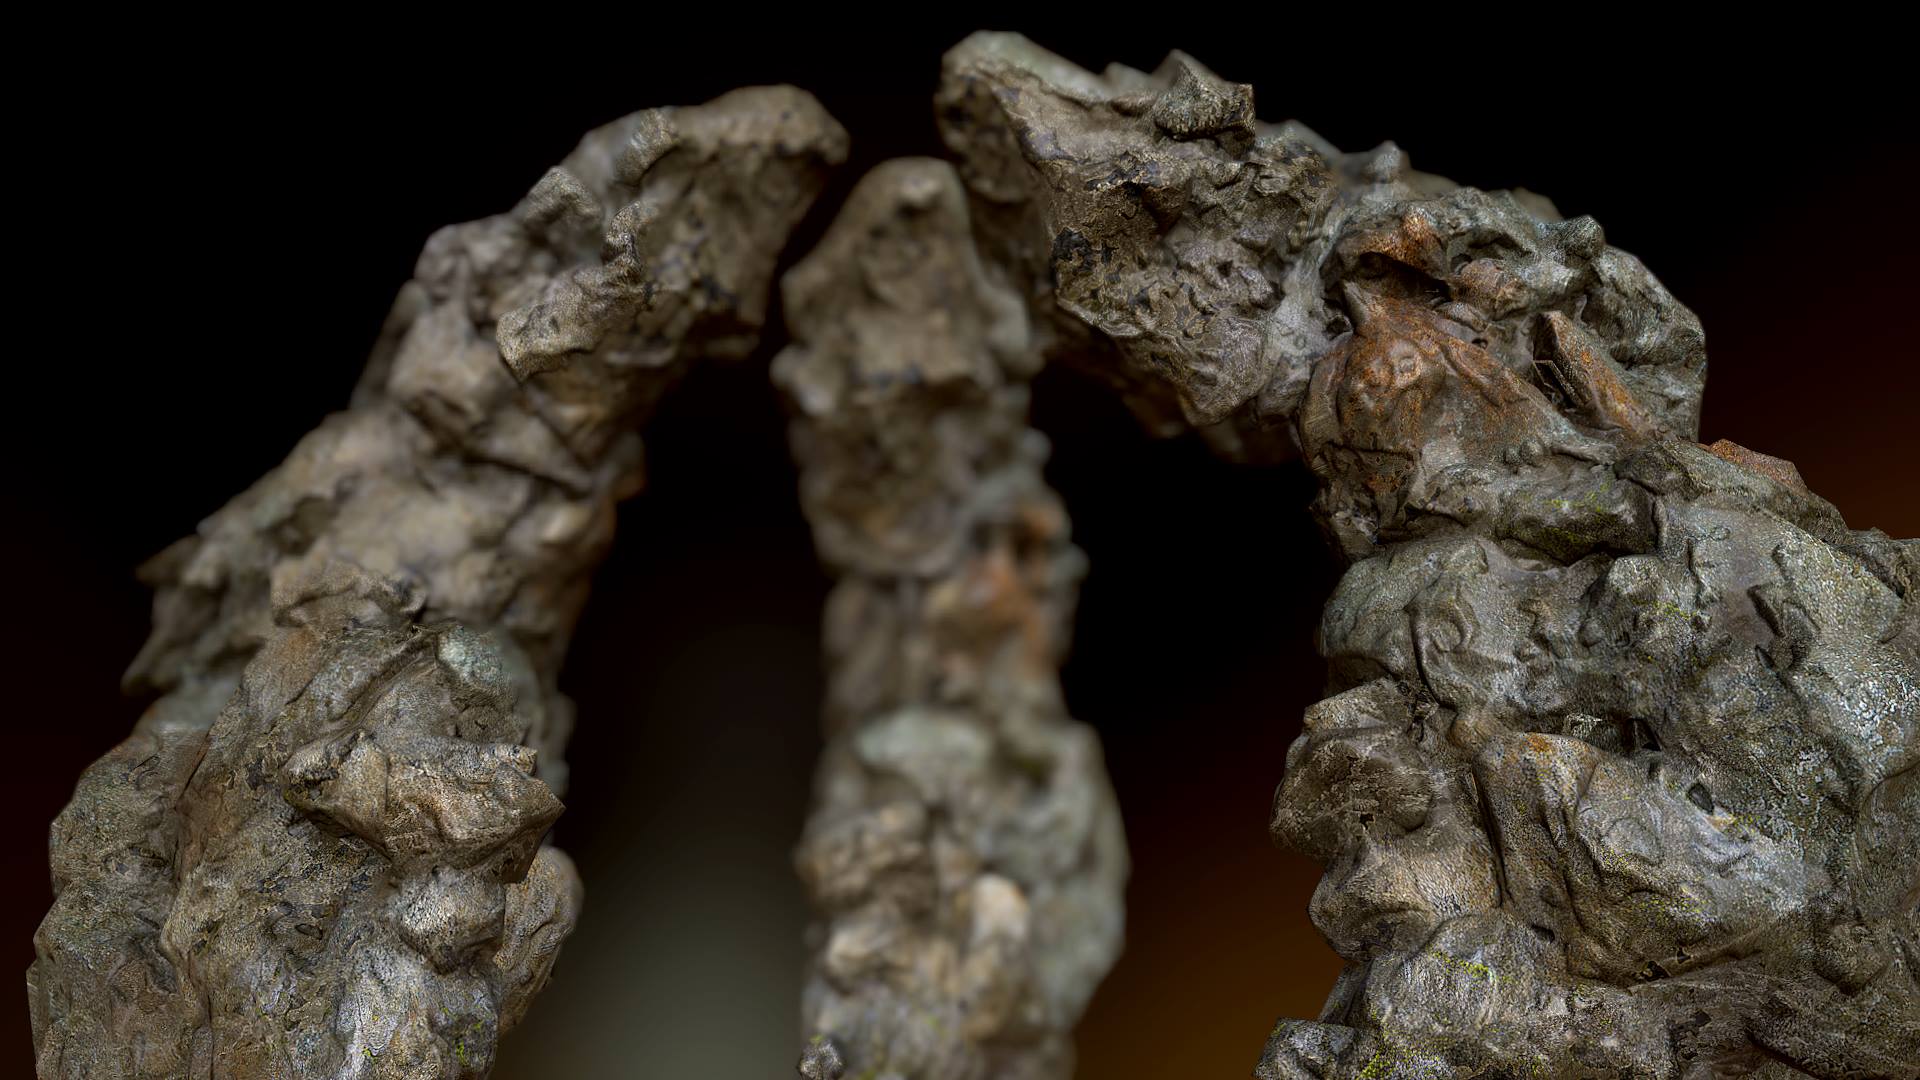
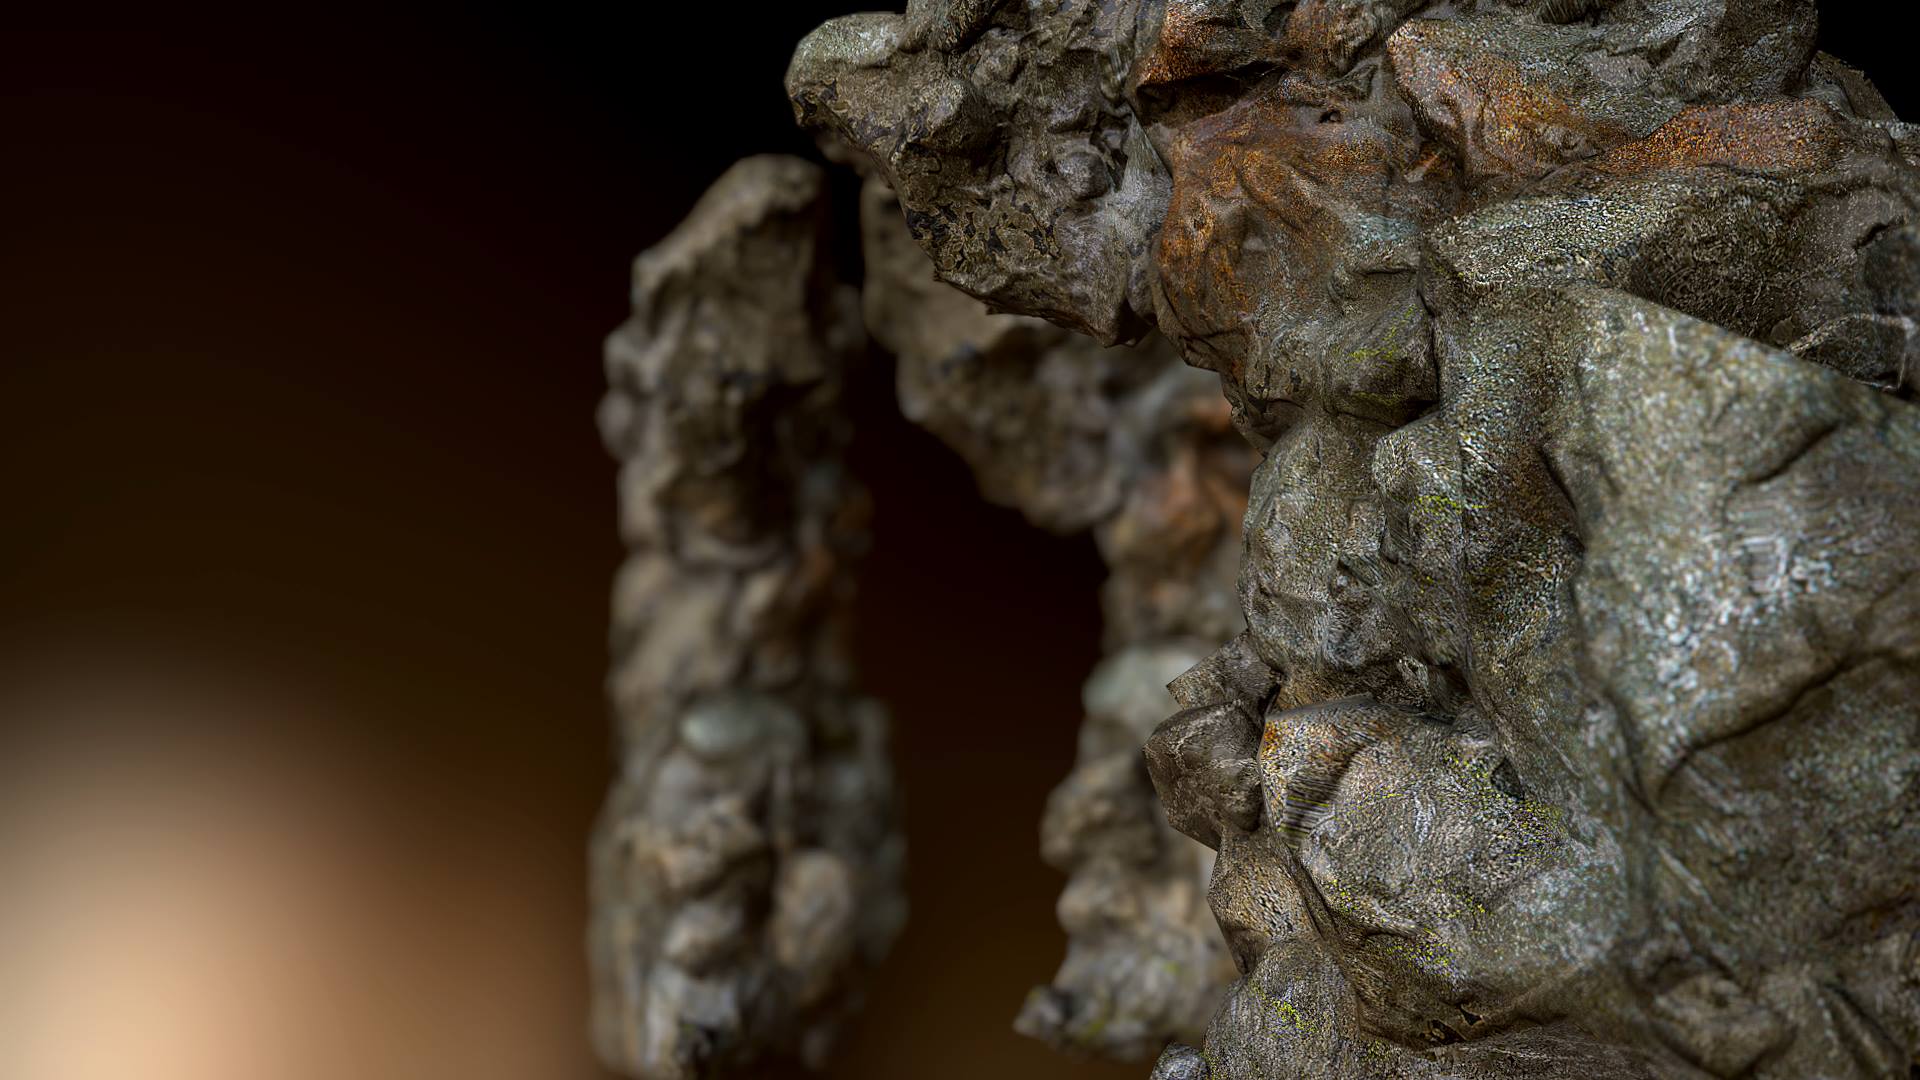
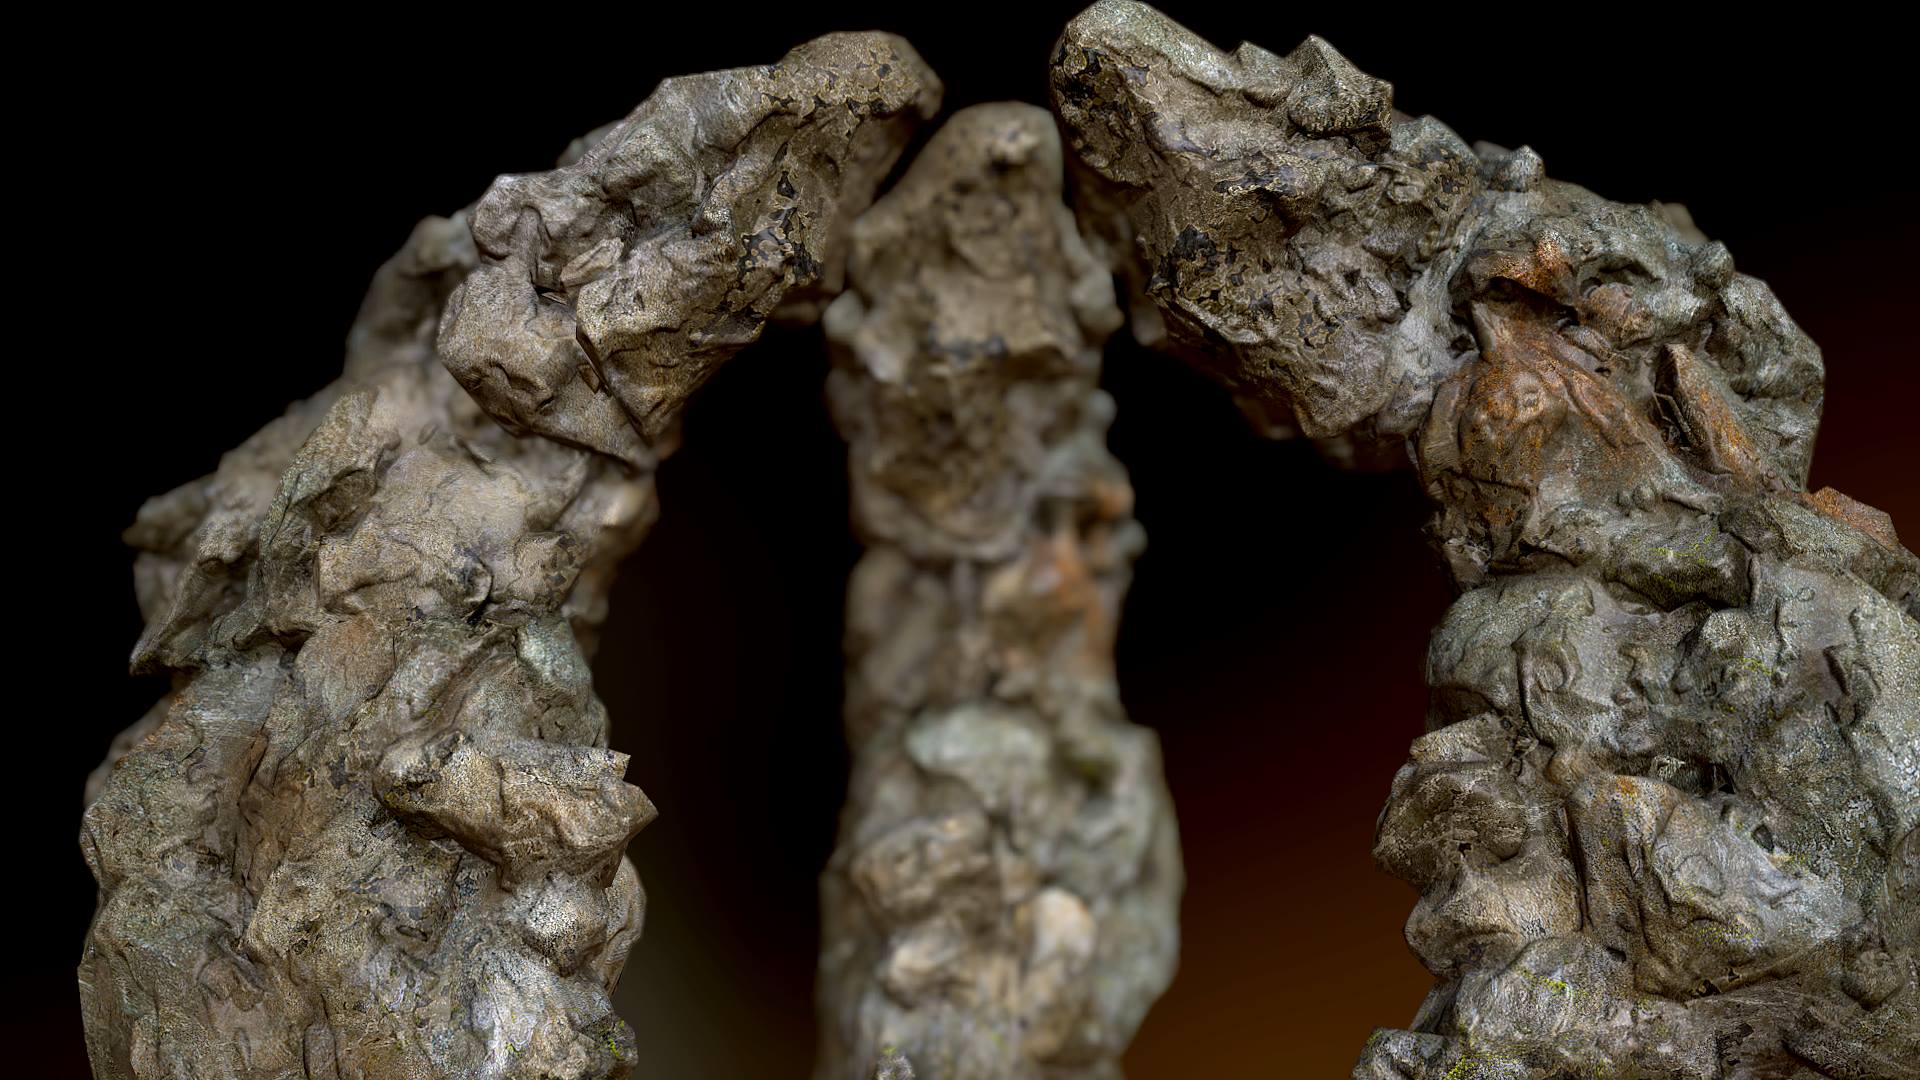
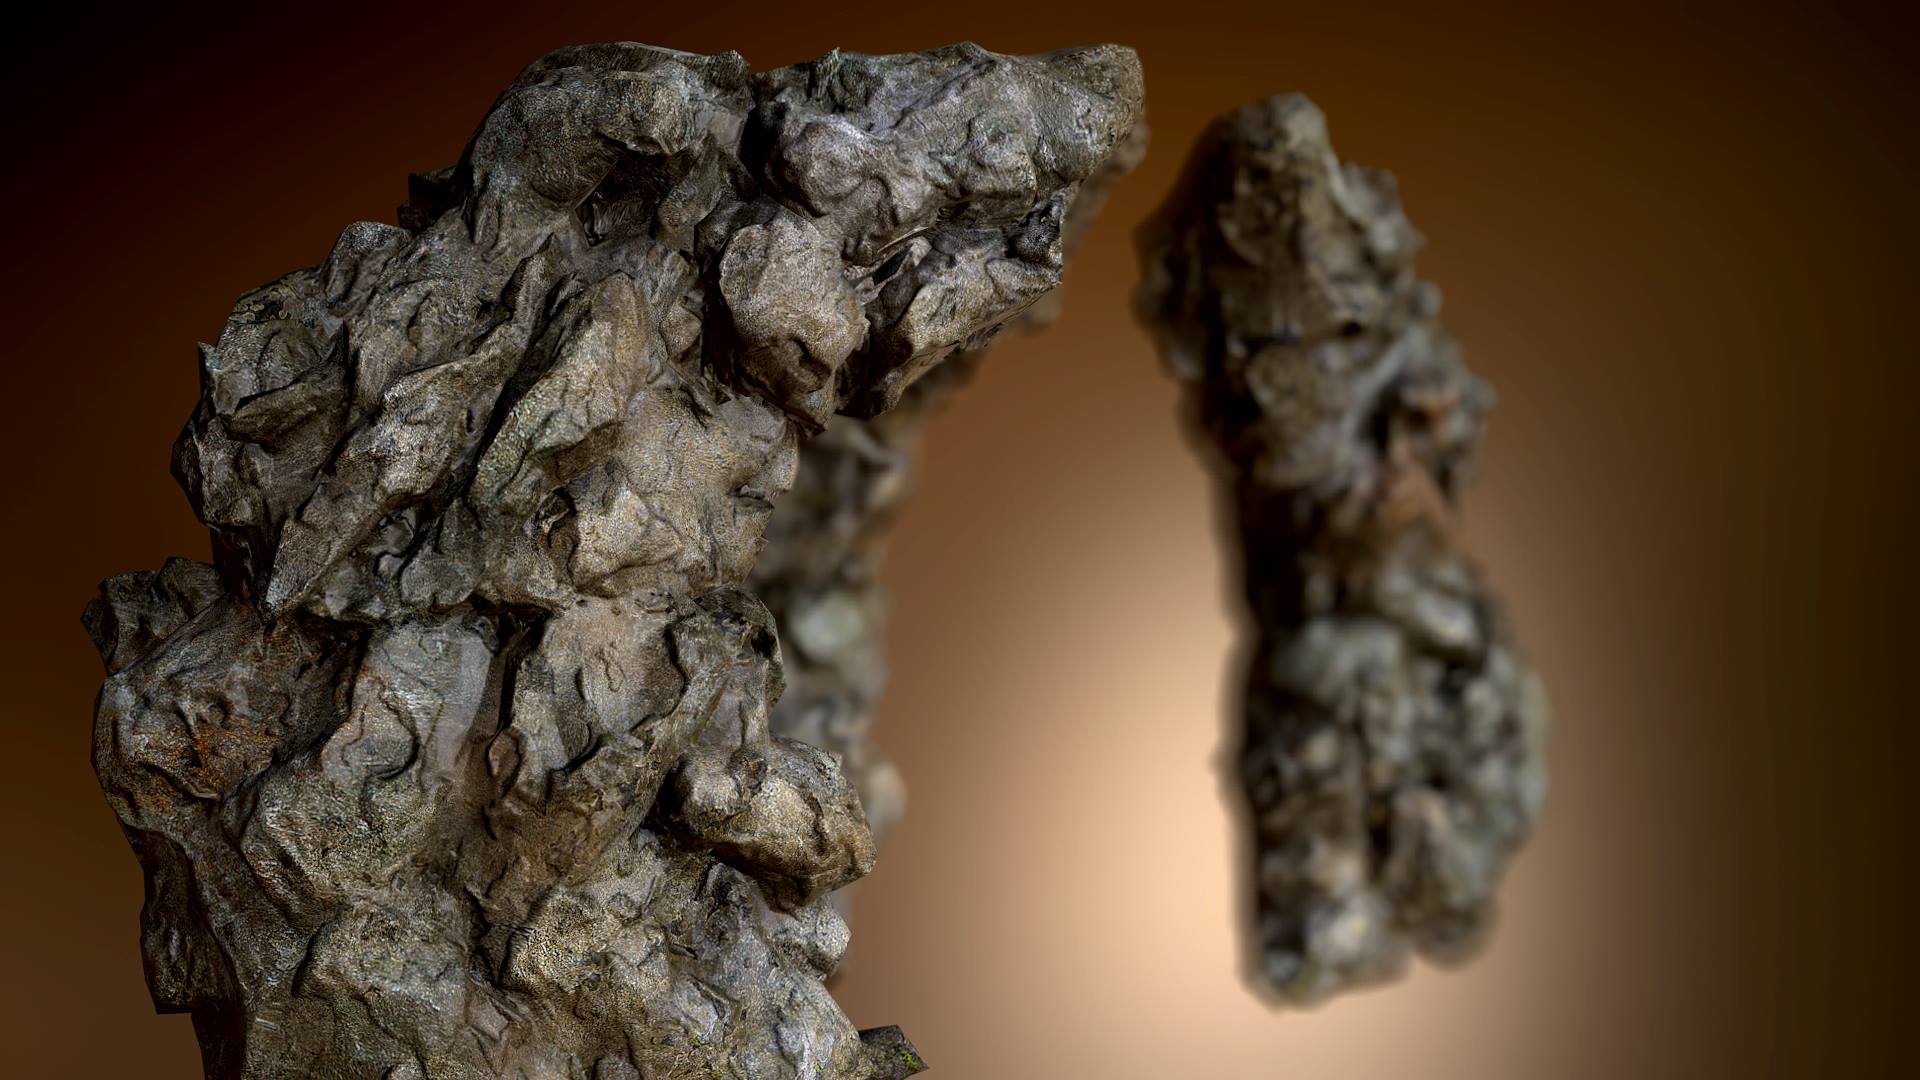
In this post I go over the result of using a small set of similarly produced rock assets to create a larger series of structures. In this particular case it's a sort of rock obelisk of sorts - and this gets developed in further posts to create different larger forms (eg mountains).

Notes on the process follow :
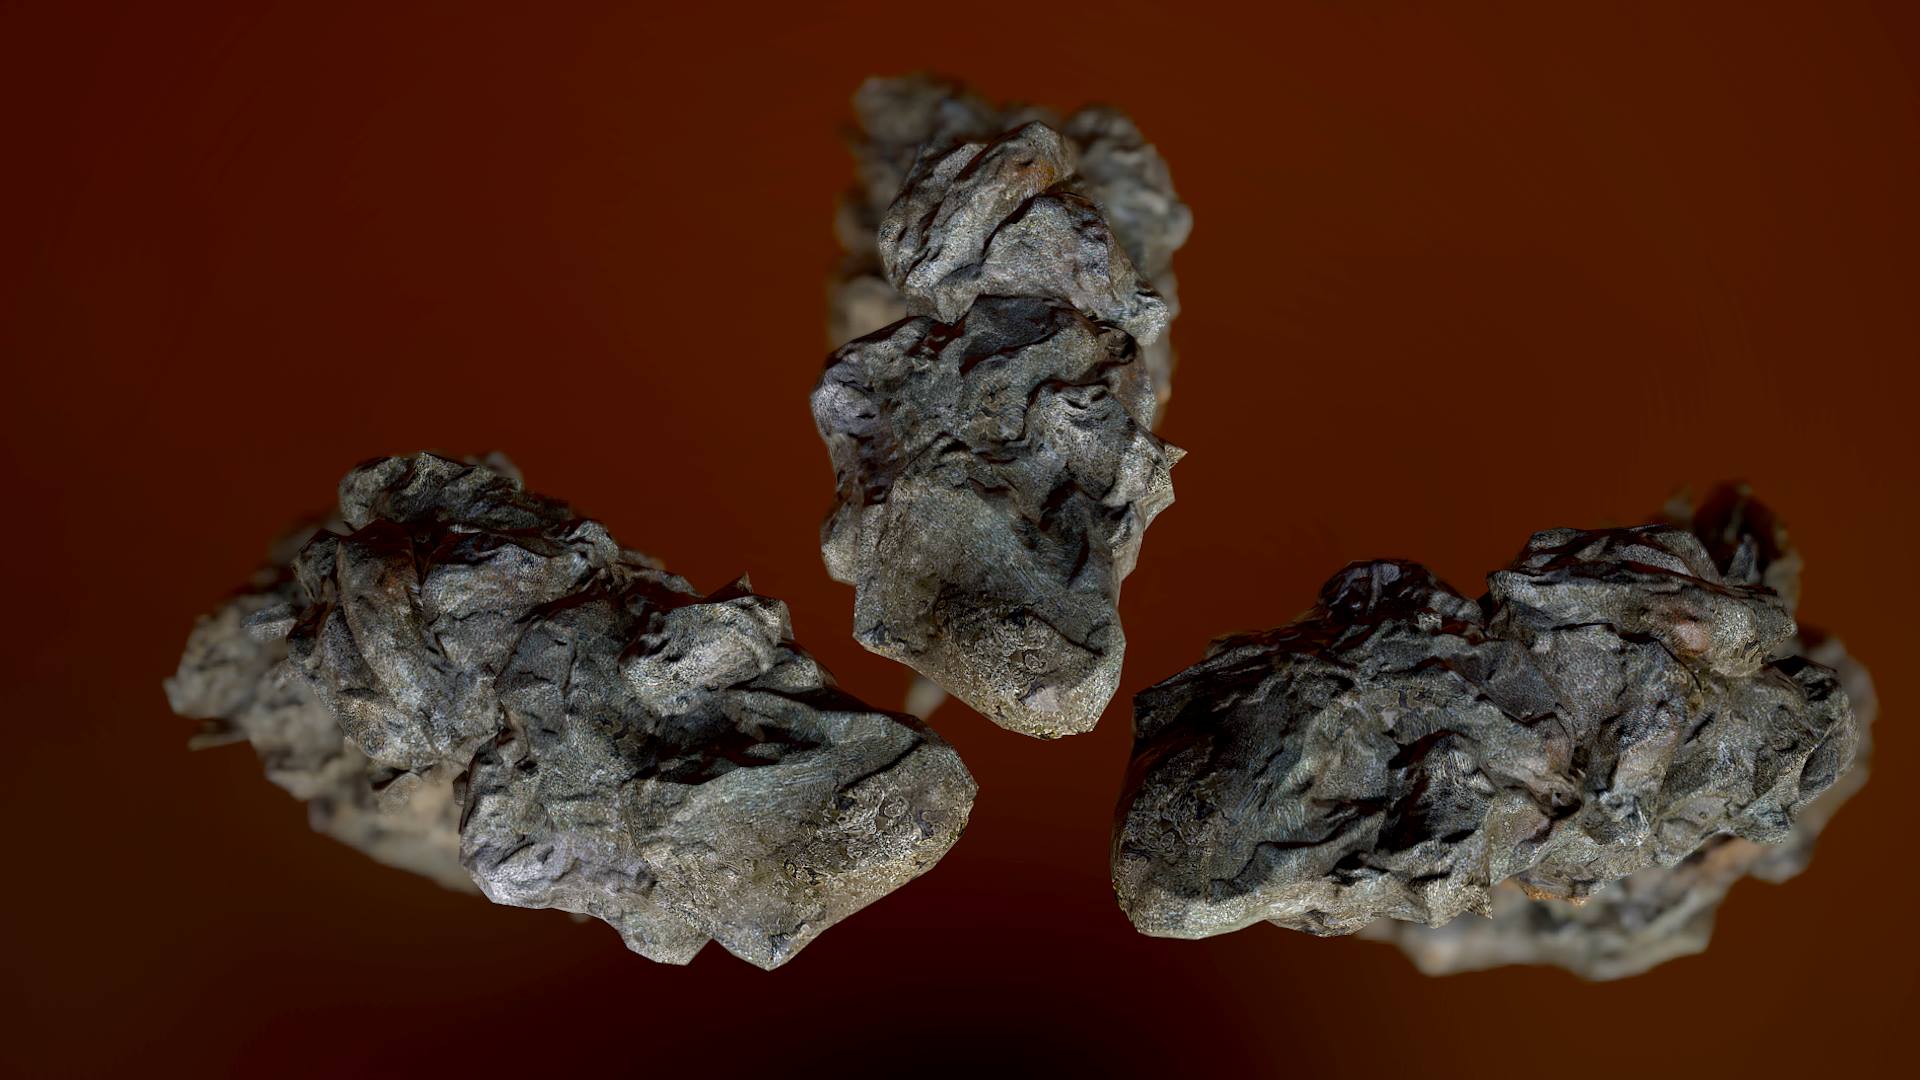
- As mentioned I essentially sculpted a series of smaller rock assets exclusively within Zbrush. Having made a small sample size, I proceeded to decimate this meshes (around 10k polys each) and proceeded to bash them together to create a slightly larger form
- Once I had settled on an (at the time) appealing silhouette (and this is key - a good silhouette is probably one of - if not THE - the most important aspects of designing anything really) I dynameshed the entire cluster together to form a single unified, fairly adequate topologically speaking, mesh.
- This high poly mesh was exported as an OBJ file and then decimated to a more manageable poly count (around 15k)
- The decimated mesh was then automatically unwrapped using UV master (because I don't like manually unwrapping meshes) and exported out as an OBJ
- Both models where then imported into xNormal to generate AO and normal maps
- The low poly mesh was then imported into Substance Painter where it was manually hand-painted through a series of color applications and selective usage of rock images
- Once done it was thrown into Marmoset Toolbag for visualization and to generate the renders above.
All in all, the whole process took a couple of hours and generated a large asset which could be further kit-bashed in-engine to create even larger structures.
This experience indicated to me the importance on generating kits for rapid asset creation and concept creation. Iterations of ideas are a lot more important than having a singular vision, especially when working within a more-networked workspace where you'd be creating these assets for someone else. Spending, say 10 hours to create the most fantastic looking, hand-sculpted mountain range, only to have an art-director tell you that it's not exactly what they had in mind, is a sure fire way of, not only getting emotionally riled-up and taking it personally ("They do not appreciate the genius of my design! Cursed plebs!") but also of indicating that you may be somewhat inefficient in terms of crafting concept work.
Though personally, I don't particularly do this on a professional level or for a company, I have experienced it when it comes to content production in general through cinematography and editing based work. I'd have spent upwards of 20 hours on a particularly long edit, just to have it returned with a large number of corrections because the flow wasn't what the director/client had in mind. Over the years I adapted both my mindset and my workflow to align with the project briefs and client expectations - in other words, realizing that not everything is expected to be a masterwork which would act as a paragon of creative prowess. Some things are pretty simple, and at the end of the day, it's your time that you're wasting :)
Lengthy tangent aside, the crux of all this is, don't hold everything that you might make as the pinnacle. In all likelihood it's not that precious, or shouldn't be considered as precious as you may believe it to be. Bash some assets together to present an idea - if it's approved THEN go crazy with the details and time-consuming flourishes should those be required.
In the next post I'll show how I used a similar method to create a small ruined structure.